Second prototype...
After learning a lot making the first prototype, I quickly wanted to move on to making a second prototype with a different arrangement of LEDs. While the first poi I made are really bright (lots of LEDs), they're only really good for making blocks of colour. I need to have lots of pixels in a straight line in order to create effects like this...
![]() https://www.flickr.com/photos/diamondgeyser/
https://www.flickr.com/photos/diamondgeyser/
To do this I need two strips of pixels. One set facing out, one set facing in. The viewing angle for the APA102 LEDs is quoted as being 120 deg. So having them in pairs facing away from each other means you get coverage, but not full 360 deg visability.
I didn't want to make them too long to start with, and I'm also limted by the LED spacing on the APA102 LED strip that I have (72 per meter), so I decided to start by making a small pair of LED pixel poi with two strips of 8 LEDs in each.
This time I'm upgrading to an Arduino Nano for control, rather than the Digispark as it has more memory for colour palettes, patterns and programs. I still power using the Powerboost 500 and a couple of AAA batteries.
I found this clear acrylic 28mm tube on ebay and bought 250mm of it. I cut it in half to make two poi.
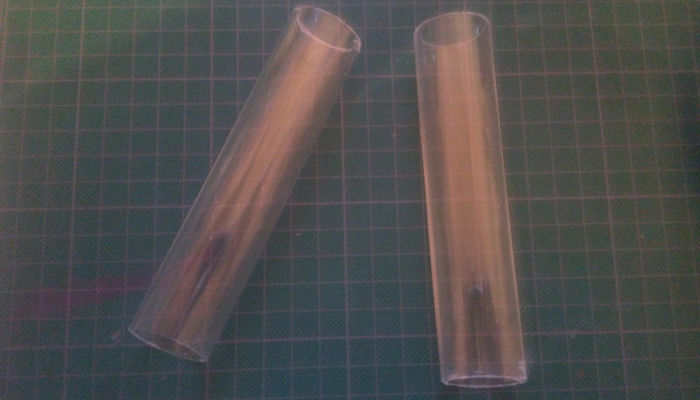
It's not quite big enough to fit the electronics and battery holder inside, so I decided to use some of the black PVC waste pipe I used in the previous prototype for the ends. I found some rubber caps that tightly seal over the end of the PVC pipe to provide a much nicer finish than the gaffa tape I used before.
I had hoped that the clear acrylic tube would fit inside the black pipe tightly enough so I could glue them together. Unfortunately, there was too much of a gap. I was about to start sticking the clear tube to one of the end caps, or some rubber to fill the gap when I came up with the idea to drill holes and cable tie them together.
This works really well...

In this image you can also see the two strips of LEDs mounted on either side of a strip of foam board.
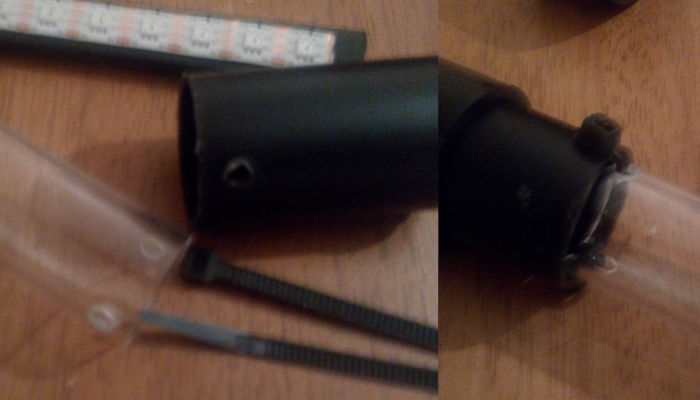
I drilled two holes in both ends of the clear tube, then matching holes on the black PVC pipe ends. One of the ends will hold the electronics, and the other will contain the battery holder. I use cable ties through the holes to hold the bits together. On the next version I will probably do 4 holes on each side, as with the two connections there is some wobble. It doesn't really affect the poi in use, but I'd like the next version to feel more sturdy.

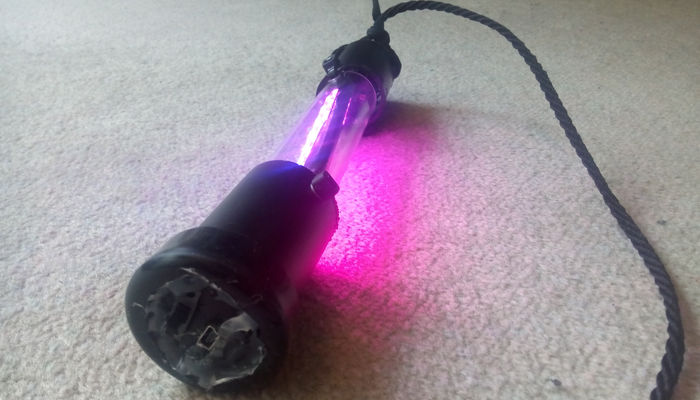
The battery compartment is held in via the rope that also forms the tether. On the other end a rubber bung holds everything in but also hurts less than the bare pipe when it hits you in the back of the head.
I cut out a portion of the rubber bung and glued in a bit of foam board in which I've mounted a power switch and the USB connection to connect to the commputer for progamming.
Inside the end with the connections and the switch are the electronics. In this photo below you see the Arduino Nano on the left, and the Powerboost 500 on the right, separated by a bit of foam board.
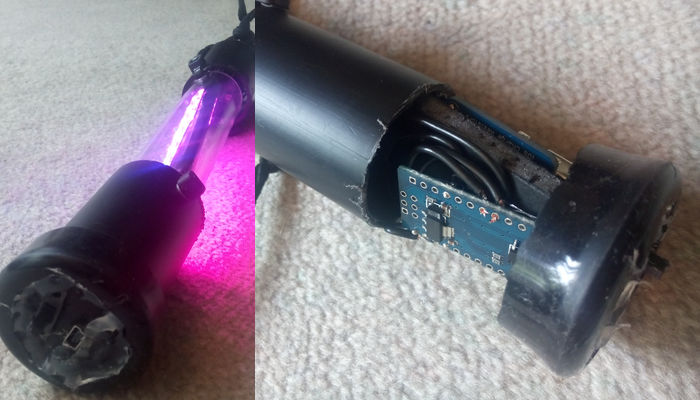
So far I've just uploaded this test pattern to try them out...
#include "FastLED.h"

#define NUM_LEDS 16
#define DATA_PIN 4
#define CLOCK_PIN 5
#define BRIGHTNESS 64
CRGB leds[NUM_LEDS];

CRGBPalette16 currentPalette;
TBlendType currentBlending;

void setup() {

  FastLED.addLeds<APA102, DATA_PIN, CLOCK_PIN>(leds, NUM_LEDS);
  FastLED.clear();

  currentPalette = PartyColors_p;
  currentBlending = BLEND;
}

void loop() {

  static uint8_t startIndex = 0;
  startIndex = startIndex + 1; /* motion speed */

  uint8_t colorIndex = startIndex;
  for( int i = 0; i < NUM_LEDS; i++) {
    leds[i] = ColorFromPalette( currentPalette, colorIndex, BRIGHTNESS, currentBlending);
    colorIndex += 3;
  }

  FastLED.show();
  FastLED.delay(50);
}
Next to programme some patterns, and experiment with some POV effects!
Any questions, drop me a line [email protected]
Thanks,
Daz
